Sunday, December 22, 2013
Saturday, November 16, 2013
DIY Aztec Shoes
Yo! I'm back for another DIY!
So I had a school mate who knew I had the artistic skills in me (*ehem*) so she asked me to revamp her pair of Tom's and to put aztec designs on it.
MATERIALS/TOOLS NEEDED:
*A pair of canvass shoes (or any plain colored shoes)
*Pencil
*Fabric Marker
So the steps are pretty simple, sketch any aztec pattern on the shoes, then use fabric marker to highlight the pattern! :)
And..... you're done!
Bye guys!
\xoxo France
Tuesday, October 15, 2013
DIY: Overall Shorts (A Comeback Post)
HEY GUYS, I'M BACK! Sorry I've been gone for "a while" (*coughs*) Well I've been gone for 11 months; so yeah, I'm really sorry. :(
So since I've been gone for a looooong time, I'll make it up to you guys with a special DIY comeback post!
First, let's start off with this: I AM OBSESSED WITH OVERALLS. I know, they're kind of weird for a teenager like I am, but to tell you the truth I really haven't lost that touch of childishness in me yet. Lately, I've also seen them worn by celebrities, and that they're making a comeback for the trend this year. I'm glad to have known that I'm not the only one who has a taste for them :D
So back to the topic, I've been searching for the perfect dungarees to cut off as overalls shorts (since I'm a cheapskate I wouldn't dare buy the expensive ones) so I went to local thrift stores in search of it. It took me forever to find one that I almost thought of giving up UNTIL I saw these babies:
The perfect dungarees! I jumped in joy after finally finding these. I found these at a local thrift store near our town in the men's section. The tag says it's size 29, but when I tried it on, it fitted me well (FYI my waistline is 25-26) So I didn't waste time to buy this pair. And the best part? It only costed me Php 100! :D
What you'll need:
*Overall pants/ dungarees
*Marking Pen
*Scissors
STEPS: Okay, so let's skip the details. You only need to follow 3 steps: MARK, CUT, FOLD, and you're done! :)
VOILA! Now you have a pair of sick-looking overalls shorts!
I was thinking of making a post on how to wear them,what do you think? I would really like to know what you think, so please leave a comment or two, aiyt? :)
Bye!
(P.S. I'm going to post more DIY's every two weeks as much as possible, so please bear with me)
Friday, November 30, 2012
DIY Distressed Shorts
Hey guys! Another DIY tutorial coming your way! :D
I got these pair of loose high-waisted jeans from my mom. It wasn't very flattering because it looked like a pair of mom jeans. Also, a thing popped up from my mind: I DON'T HAVE A PAIR OF BLACK SHORTS. So I immediately decided to cut it up these oldies into fresh new distressed shorts.
TOOLS/MATERIALS:
* A pair of pants
*A pair of shorts a s a pattern
*Scissors
*Marking Tool
*Distressing tools (blade, sand paper, cheese grater, etc)
STEP 1: Mark how short you want your shorts to be, you can use the pair of shorts as a guide. TIP: Leave an allowance when marking for the distressing part.
STEP 2: Cut it.
This is how it will look like after cutting both legs! (Sorry, the other side has a stain)
STEP 3: Using any distressing tool, distress the ends of your shorts. I used the side of my scissors to distress it, I just rubbed it onto the shorts.
VOILA! Distressed!
STEP 4: Using any marking tool (preferably tailor's chalk) mark the part you want to distress. Then distress it using THIS METHOD.
FRAYS.
And the finished product! I absolutely fell in love with my DIY. Imma gonna wear it anytime, anywhere! :D
I hope you liked the tutorial and the product just as I did! I hope you enjoy doing your own :D
Leave some comments, I love reading them! :)
Oh, Happy Bonifacio Day here in the Philippines!

CTO
Have a great weekend! :D
xoxox France
Friday, September 14, 2012
DIY Adventure Time Shirt
For those who are following me on Instagram, some of you might have seen pictures of I painting an adventure time shirt. So, here is the tutorial on how to make it! (Sorry it took soooo long.)
My friend's sister paid me to do this, since she was a fan of Adventure Time, which is also my favorite, so it took me up courage to give it to her, since I also wanted to have it :D
Let's start!
TOOLS/MATERIALS:
*Plain white shirt/top
*Pencil
*Fabric Marker
*Fabric paint
*Paintbrush
*Newspaper
STEP 1: Start drawing the pattern, I did mine some of the characters of Adventure Time.
Hah! Finished drawing :D
STEP 2: Using your fabric marker, fill in the outlines of the stencils.
STEP 3: Paint!
Hahaha so here's the finished product! I hope you enjoyed this tutorial, bye! :D
MESSY!
Have a great weekend guys! :D
xxx France
Sunday, August 26, 2012
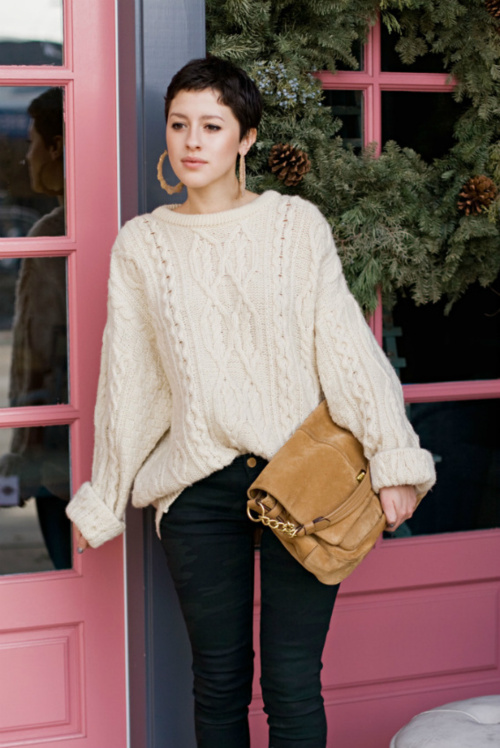
Knit Sweaters ♥
KNIT SWEATERS = LOVE ♥
Knit sweaters are just some of my obsessions right now, so I am here to share you some pictures I found while surfing the net for these babies. (As you can see, these photos are not mine)
Credits to weheartit.
I am seriously drooling over these now, so I'm saving up to buy 3 or more knit sweaters, as it is also rainy here in the Philippines.
Have a happy Monday :D
xoxo France
Labels:
cute,
inspiration,
sweaters,
top
Thursday, August 23, 2012
DIY Distressed Shorts + How to Bleach A Pair of Shorts
Hi guys! Sorry for not posting recently, I've been too busy of my studies. Thankfully, I made time to make this simple DIY project. I AM REALLY SORRY FOR THE LOW QUALITY, our camera was needed to be repaired, so I used my camera phone, instead. Let's get started!
I accidentally bought a pair of shorts without any reason, (must be the effect of studying hard ;)) and I was shocked to see them at my cabinet. When I asked mom whose shorts those were, she said that it was mine and I bought it. So, yeah. Pretty stupid of me, huh? :D
TOOLS/MATERIALS:
*Pair of shorts or pants you want to cut
*Marking tool
*Scissors
*Cutter, tweezers, or any distressing tool
STEP 1: Mark on how short you want your shorts to be.
STEP 2: Cut the desired length.
STEP 3: Mark the place where you will distress your shorts. (TIP: Draw an oval-shaped figure and trace lines inside the shape)
STEP 4: Using scissors or a cutter, cut the lines you have just traced.
STEP 5: Using the tweezers, pull the thread out of the shorts, and pretty much distress it.
This is how it will look like after an hour of PATIENCE.
STEP 6: (OPTIONAL) Grab a bucket, bleach, and water. Fill a bucket with 3/4 water and 1/4 bleach. Soak the shorts, and wait for 1-2 hours until you get the desired color. (FINALLY FIXED THE CAMERA HERE)
I hope you enjoyed this simple tutorial, bye! :)
(P.S. Please leave comments, I love reading them :D)
xoxo France
Labels:
bleached,
distressed,
DIY,
shorts
Subscribe to:
Posts (Atom)